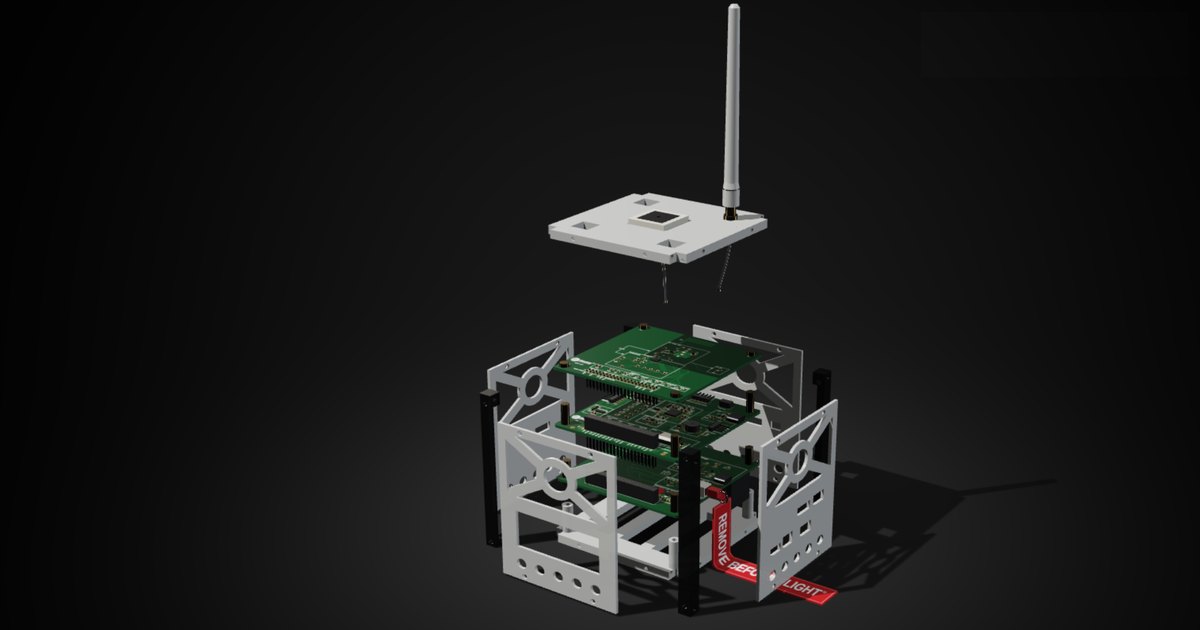
Ten years ago, building a satellite meant a university lab, a big budget and a team of engineers. Today you can build a working one on your desk in an afternoon. It has a flight computer, real sensors and a radio, and it sends its data live to a laptop. This guide shows you how, step by step, whether you are a student, a teacher or a curious maker.
What “making a satellite” at home really means
Most satellites built by students are CubeSats: small cubes made of 10 cm units. One unit is called 1U, about 10 × 10 × 10 cm. The format was created in 1999 by Cal Poly and Stanford University so that students could build real spacecraft, and it is now used by universities, space agencies and companies around the world.
A desk satellite uses exactly the same building blocks as one in orbit: structure, computer, power, sensors and a radio, plus a ground station on Earth. The difference is where it flies. Yours will run on the desk, on a rooftop or, if you want to go further, under a high-altitude balloon to near space at around 30 km. It won’t go into orbit, and it doesn’t need to: everything you learn is the same.
What you need
Here is what goes inside a simple desk satellite. These are the parts we use in the Hexstar Gen 1 classroom kit.
| Subsystem | Part | What it does |
|---|---|---|
| Flight computer | Arduino Nano | Runs your code, reads the sensors and decides what to send |
| Motion sensor | MPU6050 | Measures acceleration and rotation, so you know how the satellite moves |
| Pressure sensor | BMP180 | Measures air pressure and temperature, and from pressure, altitude |
| Weather sensor | DHT11 | Measures temperature and humidity |
| Radio | 433 MHz transmitter | Sends the readings down to your ground station |
| Power | 9 V battery and barrel jack | Powers the whole satellite |
| Structure | 3D-printed 1U frame | Six panels and four long bolts that hold everything together |
| Ground station | Arduino Nano + 433 MHz receiver | Receives the radio packets and passes them to a laptop over USB |
You will also need a laptop with the free Arduino IDE and a USB cable. No soldering iron is needed if your modules plug into headers.
What it costs
You can buy each part separately, print the frame yourself and write all the code from scratch. That teaches the most, but sourcing, wiring and debugging usually takes several weeks.
If you want to start building today, the Hexstar Gen 1 kit includes every part above, the 3D-printed frame, the ground station and the live dashboard for ₹3,999 + GST in India or $179 internationally. For balloon flights, Gen 2 adds GPS and a long-range LoRa radio for ₹8,999 + GST or $299.
How to make a satellite on your desk, step by step
1. Decide your mission
Every real satellite starts with one sentence. Write yours: “Measure temperature, pressure and motion and send them live to our laptop every second.” This keeps every later decision simple.
2. Test the flight computer
Plug the Arduino Nano into your laptop, open the Arduino IDE, choose Arduino Nano as the board and upload the Blink example. When the LED blinks, your satellite’s brain is alive.
3. Add the sensors one at a time
Plug in one sensor, upload a short test sketch and watch its readings in the Serial Monitor. Then add the next. Testing one part at a time is how real spacecraft are built: when something fails, you know exactly which part it is.
4. Add the radio
The 433 MHz transmitter turns your readings into radio packets. Keep each packet short and add a counter, so the ground station can tell if a packet was missed. Here is a minimal example that reads the pressure sensor and sends one packet a second:
#include <RH_ASK.h>
#include <SPI.h>            // needed by RadioHead
#include <Wire.h>
#include <Adafruit_BMP085.h> // works with the BMP180

RH_ASK radio(2000, 11, 12);  // speed, receive pin, transmit pin
Adafruit_BMP085 bmp;
unsigned long n = 0;

void setup() {
  radio.init();
  bmp.begin();
}

void loop() {
  char msg[48];
  // packet: counter, temperature x10, pressure in pascals
  snprintf(msg, sizeof msg, "HX,%lu,%d,%ld", n++,
           (int)(bmp.readTemperature() * 10), bmp.readPressure());
  radio.send((uint8_t *)msg, strlen(msg));
  radio.waitPacketSent();
  delay(1000);
}
Pin numbers depend on your wiring. The Gen 1 kit comes with complete example code for every sensor.
5. Power it from the battery
Unplug the USB cable and connect the 9 V battery. Your satellite is now independent, just like the real thing. Check that it keeps sending for as long as your mission needs.
6. Build the ground station
A second Arduino Nano with a 433 MHz receiver listens for your packets and passes them to the laptop over USB. This is your mission control.
7. Put it in the frame
Mount the board inside the 3D-printed 1U frame with the bolts and standoffs, and route the antenna so it isn’t blocked. Now it looks, and works, like a CubeSat.
Watch your satellite live
The best moment is when the data starts arriving. The Hexstar mission dashboard plots every reading live, shows the raw packets and turns a 3D CubeSat on screen to follow the real one as you tilt it.
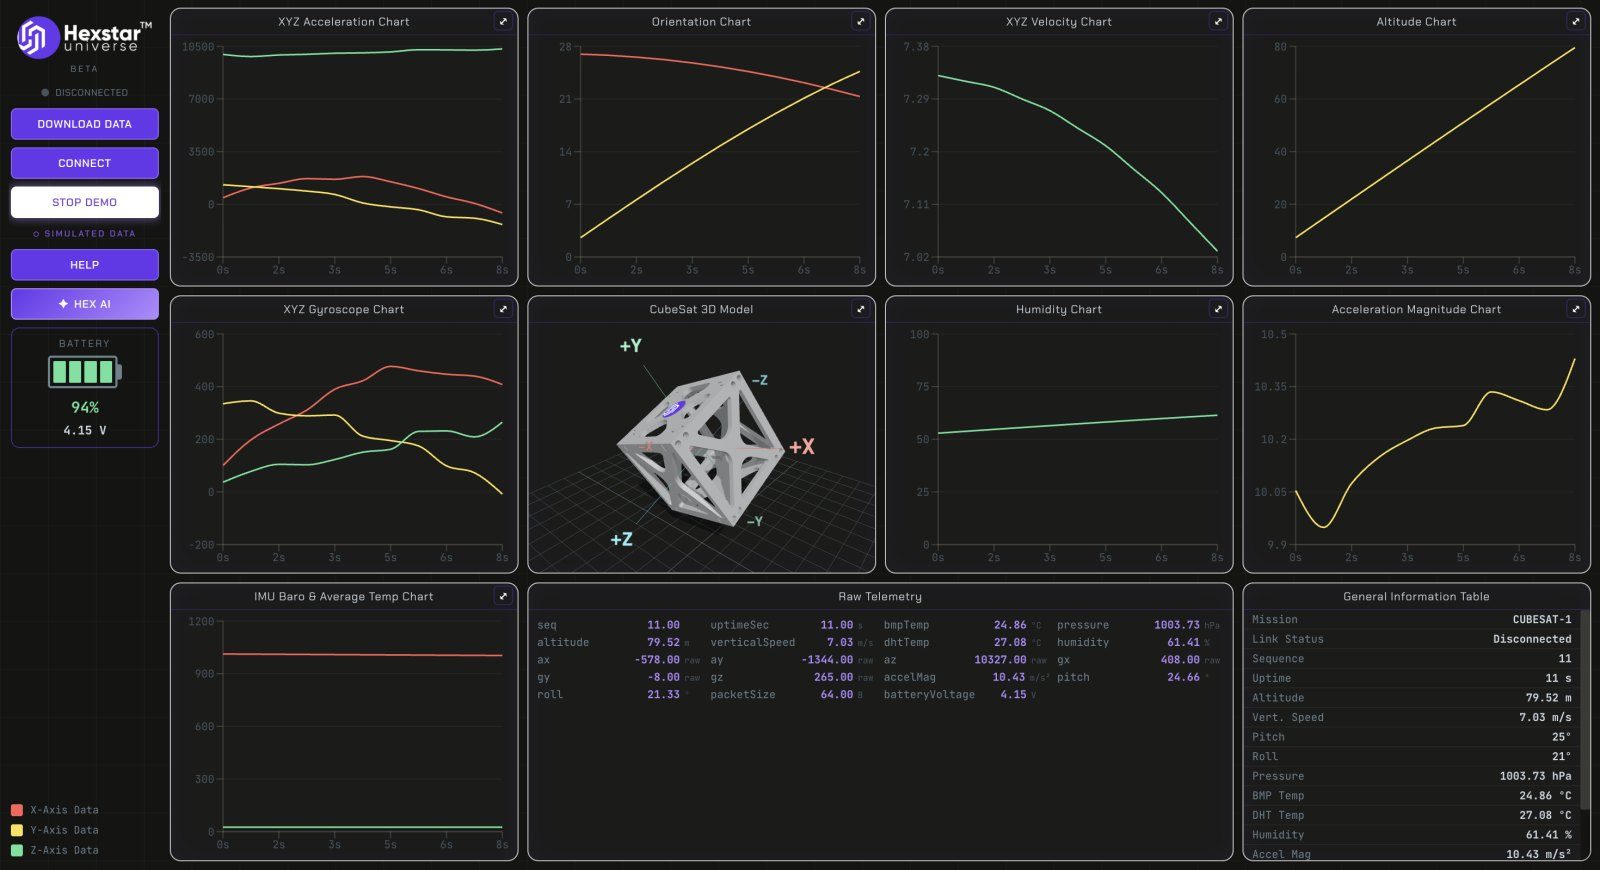
Try simple experiments: breathe on the humidity sensor, lift the satellite up a flight of stairs and watch the pressure drop, or spin it and see the motion sensor respond.
Take it further: rooftop, field and near space
- Range test. Walk away from the ground station until packets stop arriving. Now you know your radio range.
- Classroom mission. Split the class into power, payload, radio and ground teams, just like a real space mission.
- Balloon flight. With GPS and long-range LoRa, a satellite like Gen 2 can ride a high-altitude balloon to around 30 km and be tracked and recovered after it lands by parachute.
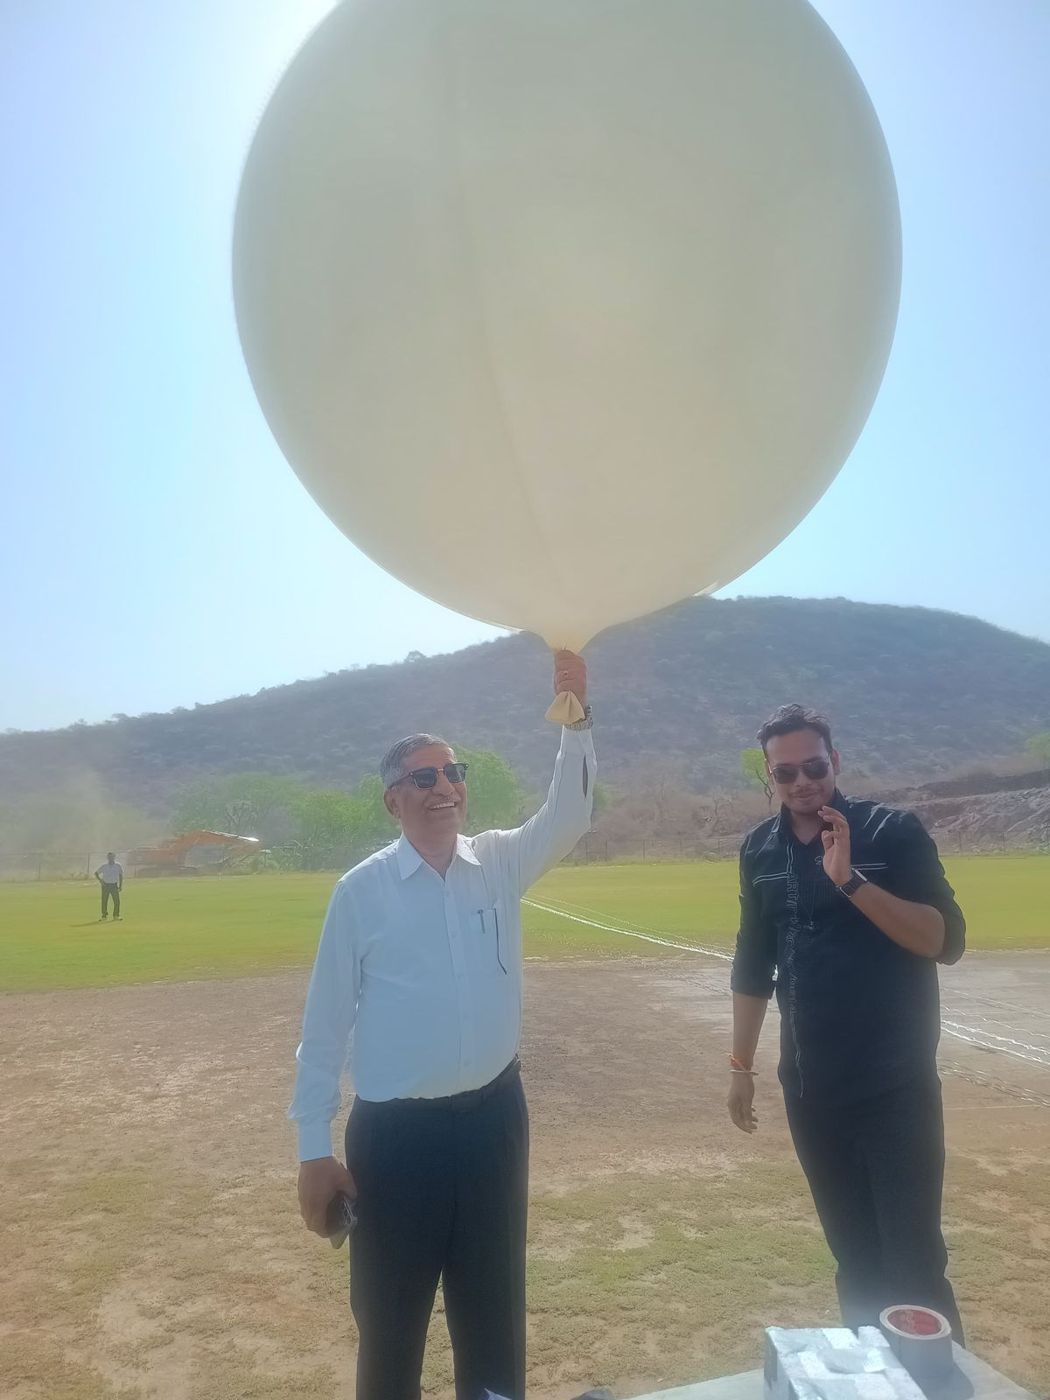
Balloon launches need a parachute, a recovery plan and permission under your local aviation rules. See the full process in our step-by-step CubeSat build guide.
Common mistakes to avoid
- Wiring everything at once. Add and test one part at a time.
- Long packets. Short packets get through more reliably, especially at long range.
- A weak battery. Most “my satellite stopped working” problems are a flat 9 V battery.
- A hidden antenna. Keep the antenna clear of the battery and metal bolts.
- No counter in the packet. Without one, you can’t tell how much data you lost.
Frequently asked questions
Can I really make a satellite at home?
Yes. A desk CubeSat uses the same subsystems as a real one: computer, sensors, radio, power and structure, plus a ground station. It runs on your desk or under a balloon, not in orbit.
How long does it take?
With a kit, you can assemble it and see live data in one class period or an afternoon. From scratch, plan for several weeks.
Do I need to know electronics or coding?
No. If you can plug in a USB cable and open the Arduino IDE, you can start. You learn the electronics and coding as you build.
What age is it suitable for?
The Gen 1 kit is designed for school classes and first-time builders working with a teacher or parent. Gen 2 suits older students and college clubs.
Can it go to space?
Educational kits are made for learning and near-space balloon flights to around 30 km. Going into orbit requires certified flight hardware and a launch provider.
Start building
Ready to make your own satellite? Get the Hexstar Gen 1 kit for your desk or classroom, or read our CubeSat kit buyer’s guide to compare all the options.