An Arduino Nano flight computer, plug-in sensors and a 9 V battery inside a 3D-printed 1U frame. No soldering needed.
Each module sits in a female header on the Gen 1 board, so students can lift a sensor out, see how it's wired and put it back. Tap a part to find it in the 3D view.
Every sensor and the radio sit in female headers. Swap, test and replace parts without a soldering iron.
The Arduino Nano programs over USB with the free Arduino IDE that most schools already use.
A standard 9 V battery and snap connect through the same barrel jack as an Arduino Uno.
Six printed panels and four long bolts with standoffs. Print spares in the school lab.
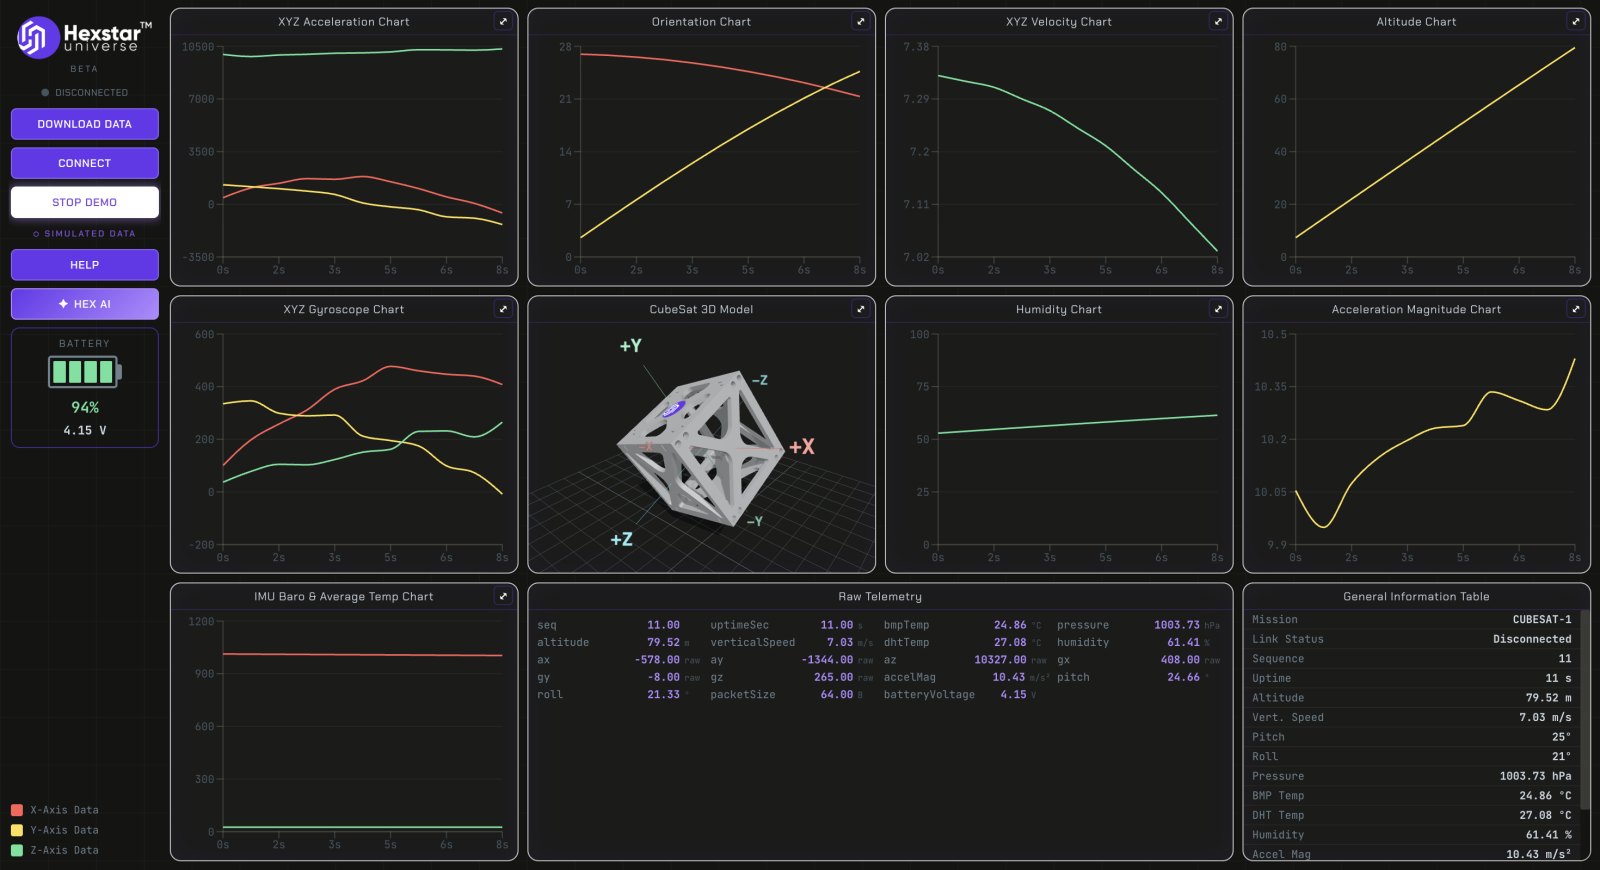
Sensor readings are sent by radio to a ground station, so students see their satellite's data live.
Covers electronics, coding, sensors and radio in one hands-on project for a whole class.
The CubeSat transmits on 433 MHz. A small receiver picks it up and a laptop shows every reading live, ready to project for the whole class.
An Arduino Nano on a breadboard inside a 3D-printed box. The long red 433 MHz RF module sits on the lid, wired through the hole in the top.
A single USB cable powers the receiver and carries the telemetry into the dashboard.
Terms · Privacy · Shipping · Refunds · Track your order · Blog · CubeSat kit guide · How to build a CubeSat · DIY satellite kit
Educational use only. Hexstar CubeSat kits are made for learning and educational experiments. They are not certified or intended for real spaceflight or orbital launch. High-altitude helium balloon launches are entirely at your own risk: Hexstar Universe does not guarantee that the payload will be recovered, or that data will be received throughout any mission. You are responsible for following local aviation and radio rules.
Chat with us